At startup a simple graphical interface (GUI in the following) appears. It is composed mainly of a central list of buttons which, when activated, leads to sub lists or other GUI items as file or color choosers. The top stack of the central list has the detector, files and "next event" buttons that are the essential items of this event display.
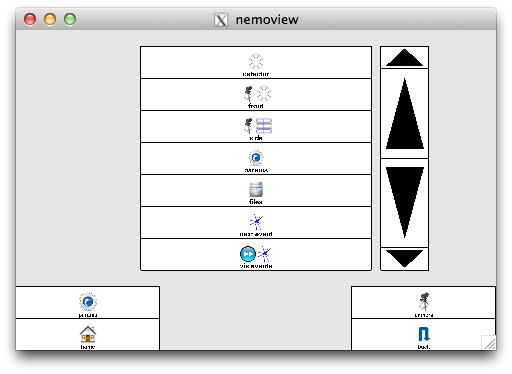
At bottom, the back and home buttons permit to navigate in the stacked menu lists. The home button permits to return to the top list of buttons whilst the back button returns to the previous list. When visualizing something, the GUI disappears to let the place, full screen, to the "scene". A non visible "meta zone" exists at the bottom that permits, when touched (clicked on a desktop), to map again the GUI. Activating the detector button leads to :
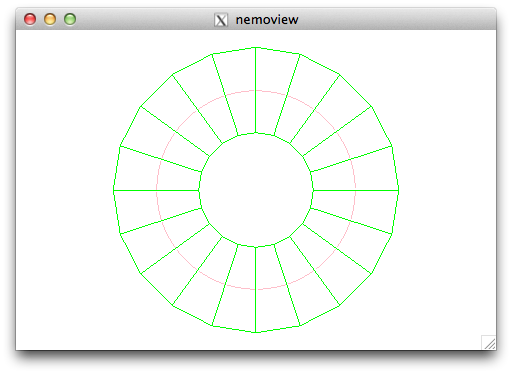
It visualizes, from a top projection, the NEMO3 detector. You have to touch/click the bottom of the window to return to the GUI.
Opening a file
If you click on Files, you are lead to :
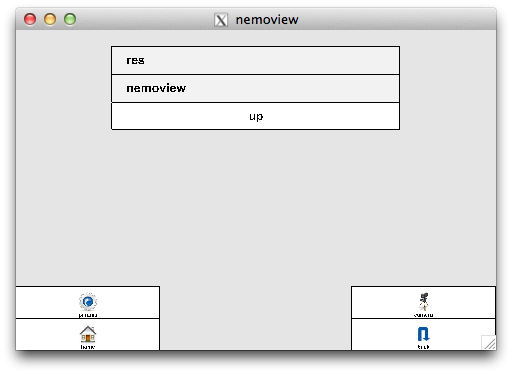
that presents the "res" and the "nemoview" directories. The res one is coming from an installation, and the nemoview one is the one under the ~/Documents directory on your account. A default installation comes (from 1.5) with the bb0nu.ana event file. Clicking on res gives :
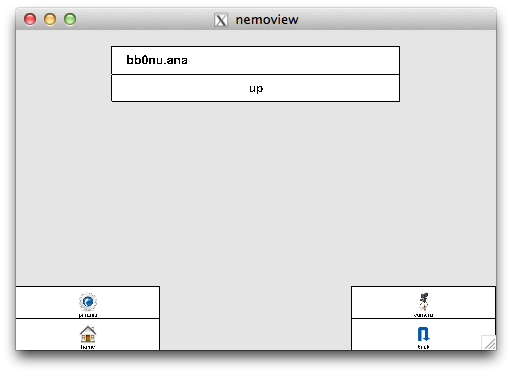
Clicking the bb0nu.ana file, opens the file and leads back to the scene view with the console area on the top left showing the number of events in the file. Go back to the main menu and click on "Next event", you should see :
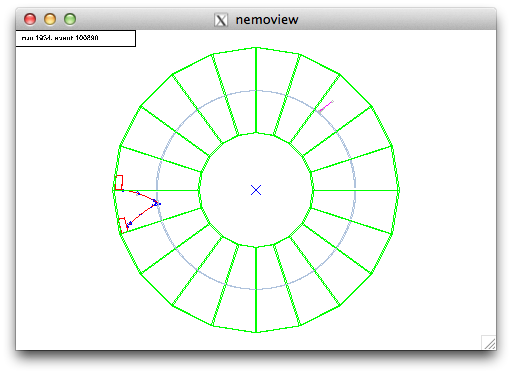
"Next event" goes sequentially in the file, but the "vis events" button leads to a more advanced panel permitting to reach a given event knowing its id and to launch an automatic looping over events.
Camera panel
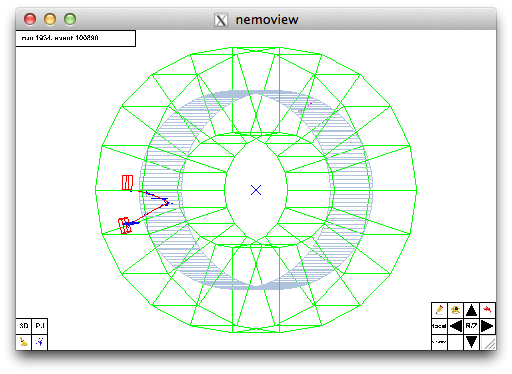
When having a scene, you can use the camera panel to "move around".
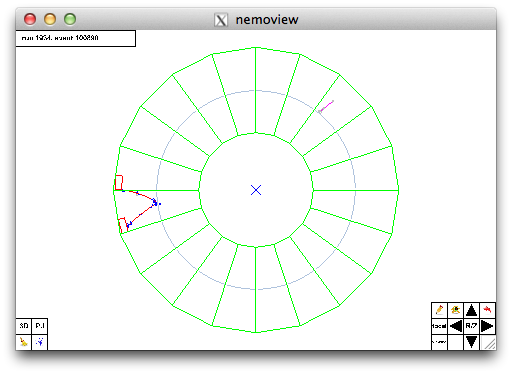
If you click on the right arrow, a rotating animation is launched that moves the scene in 3D. Clicking on the same arrow again stops the animation.
As the general behaviour of the application is similar to the ioda application, for documentation about navigation in the GUI, camera manipulation, producing output, about the document directory, etc... we refer to the ioda web pages accessible from the softinex portal on the left.
Picking
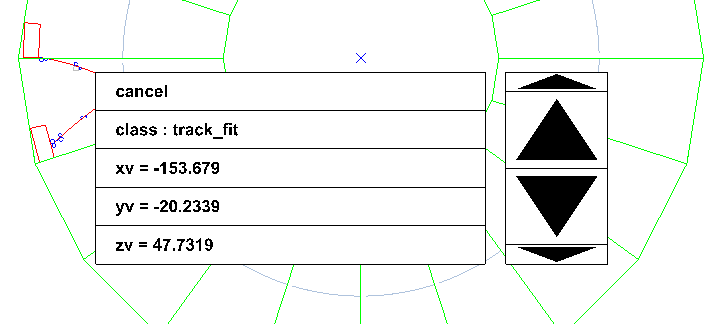
When clicking the "viewing" button in the camera panel, you pass in "picking mode". The cursor is now a Saint Andrew cross. If you click an object a popup menu appears beside the cursor :

On an event object (for example a "track fit") the "infos" item permits to have infos on this object :